Hello everyone!
Well here we are again with another blog post. I think I left it too long (yet again) but I just never seem to find the time to sit down and get this done. So we are about to hit April, 4th month of the year, yet another year where the time is flying in! Perhaps it's because I'm fully qualified in June and that's why it's going so quick.
So on Monday 24th, me and the college girls had a trip out to the Scottish Beauty Show. I have to say I was disappointed with the lack of nail stalls compared to last year. Notably absent was NSI which was quite surprising. However I did of course manage to find things to buy (you aren't surprised by that, are you?)

Nail polish.... more polish .... yup! So the bargain of my day was the duo China Glaze set with shot glass. £2. No typo, honestly it was £2. The colours are a beautiful foil like silver and gold. I picked up 2 packs of small spikes, one gold, one silver. They are much smaller than the spikes I used for my Rihanna nail art and I really wished I had these back when I did it. Theres also a wheel of multi coloured glitter studs and the 4 little pots are 3 bar glitters and 1 tub of flowers. You will notice the 3 stripers of the same colour. I found these last year and I only got 1. I used it so much it was all dried up and done and I had been trying to find it on Ebay or anywhere to order more and had no luck. So when I saw the stall there again this year, I bought 3! Well stocked up now haha! Also picked up the China Glaze City Flourish Collection, Peonies & Park Avenue, which I am loving the shades! I'm wearing a design using some of them right now.

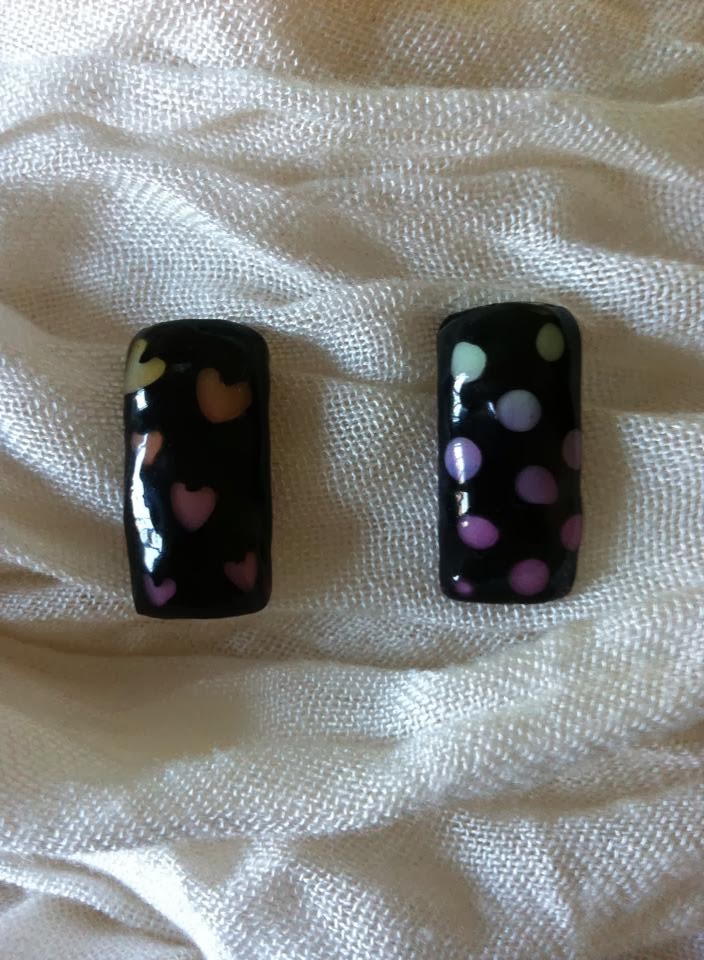
This design ended up being done with all China Glaze bar the yellow dot. I have to say that CG is beyond a doubt my favourite brand with OPI coming second.
There will be a haul video tomorrow (Saturday) showing off my Beauty Show items, be sure to check it out.
I done some gels last night on a clients natural nails. It's a really pretty pale pink with glitter on the tip area. It's just the perfect subtle shade!

I need to get a better camera so that it actually picks up the true shades! I've been thinking long and hard this past month trying to decide which brand of gel polish I want to start stocking and using. I'm just so indecisive it's really taken me this long to work it out. I've decided to go with gelish. It's a well known brand, good reviews and I think my clients will be happy to have a brand that is well known. Once I get some colours I will put out on my Facebook page a post letting everyone know!
Keeping on the topic of gels; I done my sculpted french gel assessment at college! I hadn't been planning to do it Monday but due to be forgetting we had Easter Holidays coming up and the College being closed, I couldn't have the client come back in for the infill assessment like I had planned! Thankfully I had done some good practice on these and the lecturer was happy to let me go ahead with the assessment.

Of course me being me, I couldn't let her leave without some kind of nail art! Dots were requested and dots were done! Pleased to say I passed :)
Time to share with you my most recent nail art videos. This one just went live today.
I'm not sure how I managed it but I actually forgot to take pictures using my camera for this design so I had to improvise with the practice nail I do! I always try out my design ideas on a tip until I find something I'm happy with. Once I'm happy I redo the design onto my nail wheels which I have for clients to look at.
Here is officially my longest nail art video! I spent a lot of time editing this one but even with speeding up and cutting bits where I could, it was still over 12 mins! I hope this doesn't put people off but because I was showing 5 different designs it made it hard to get the video any shorter. At least you can skip to a certain nail to see how to do it if you wish!
This little slideshow was more made for people who only follow my Youtube channel. I only ever post art done on myself there but I am actually fully capable of more! I hope this vid let people see that.
A toe nail art! Yup! Not sure what put me in the mood for doing my toes considering how cold it is still, but it might of had something to do with how far up my glitter gel design had got and the fact I had lost the design on 3 nails. This design didn't quite turn out as I was expecting, I was hoping the foil would of attached slightly better as it was a little patchy in some places. However, with this being on my toes, when you look down they look great so it worked out in the end!
Last video, honest! I really do wonder everytime I update this how the hell I get so backlogged on my videos. This was a quick design using 2 Sinful Colors I had picked up and was dying to use together.

This video tutorial will be up tomorrow! I was requested to do some work showing the Naio powders I got so I manged to find the time to film these 3. I want to get some gel tutorials done next.
I think I have rambled on long enough in this post. I've not put everything here that's been on my other social media so be sure to stay fully up to date by following me on one of them! Thanks for reading :)
Facebook www.facebook,com/lynsnailart
Twitter @nailsbylyn
Instagram @lynsnailart
Youtube Nala Nails
Well here we are again with another blog post. I think I left it too long (yet again) but I just never seem to find the time to sit down and get this done. So we are about to hit April, 4th month of the year, yet another year where the time is flying in! Perhaps it's because I'm fully qualified in June and that's why it's going so quick.
So on Monday 24th, me and the college girls had a trip out to the Scottish Beauty Show. I have to say I was disappointed with the lack of nail stalls compared to last year. Notably absent was NSI which was quite surprising. However I did of course manage to find things to buy (you aren't surprised by that, are you?)
Nail polish.... more polish .... yup! So the bargain of my day was the duo China Glaze set with shot glass. £2. No typo, honestly it was £2. The colours are a beautiful foil like silver and gold. I picked up 2 packs of small spikes, one gold, one silver. They are much smaller than the spikes I used for my Rihanna nail art and I really wished I had these back when I did it. Theres also a wheel of multi coloured glitter studs and the 4 little pots are 3 bar glitters and 1 tub of flowers. You will notice the 3 stripers of the same colour. I found these last year and I only got 1. I used it so much it was all dried up and done and I had been trying to find it on Ebay or anywhere to order more and had no luck. So when I saw the stall there again this year, I bought 3! Well stocked up now haha! Also picked up the China Glaze City Flourish Collection, Peonies & Park Avenue, which I am loving the shades! I'm wearing a design using some of them right now.
This design ended up being done with all China Glaze bar the yellow dot. I have to say that CG is beyond a doubt my favourite brand with OPI coming second.
There will be a haul video tomorrow (Saturday) showing off my Beauty Show items, be sure to check it out.
I done some gels last night on a clients natural nails. It's a really pretty pale pink with glitter on the tip area. It's just the perfect subtle shade!
I need to get a better camera so that it actually picks up the true shades! I've been thinking long and hard this past month trying to decide which brand of gel polish I want to start stocking and using. I'm just so indecisive it's really taken me this long to work it out. I've decided to go with gelish. It's a well known brand, good reviews and I think my clients will be happy to have a brand that is well known. Once I get some colours I will put out on my Facebook page a post letting everyone know!
Keeping on the topic of gels; I done my sculpted french gel assessment at college! I hadn't been planning to do it Monday but due to be forgetting we had Easter Holidays coming up and the College being closed, I couldn't have the client come back in for the infill assessment like I had planned! Thankfully I had done some good practice on these and the lecturer was happy to let me go ahead with the assessment.
Of course me being me, I couldn't let her leave without some kind of nail art! Dots were requested and dots were done! Pleased to say I passed :)
Time to share with you my most recent nail art videos. This one just went live today.
This little slideshow was more made for people who only follow my Youtube channel. I only ever post art done on myself there but I am actually fully capable of more! I hope this vid let people see that.
Last video, honest! I really do wonder everytime I update this how the hell I get so backlogged on my videos. This was a quick design using 2 Sinful Colors I had picked up and was dying to use together.
This video tutorial will be up tomorrow! I was requested to do some work showing the Naio powders I got so I manged to find the time to film these 3. I want to get some gel tutorials done next.
I think I have rambled on long enough in this post. I've not put everything here that's been on my other social media so be sure to stay fully up to date by following me on one of them! Thanks for reading :)
Facebook www.facebook,com/lynsnailart
Twitter @nailsbylyn
Instagram @lynsnailart
Youtube Nala Nails